• Player Trading Cards were the original Blind-Box

    Life is like a pack of hockey cards – You never know what you’re gonna get.
    Chocolates on the other hand have that little map that tells you what each one has inside. So you can avoid the orange ones, anyway…

    When I came across a couple bags of old hockey cards at a thrift store in Vancouver I became intrigued.

    I could tell they weren’t exactly taken care of well, bundled in a ziplock baggy in two stacks.

    But the era and vintage of them were nostalgic. The NHL players I could see front and back were not very famous or “household” names and I suspected that to be the case for the others that I couldn’t see as well.

    However these cards were made by O-Pee-Chee and of course I’m thinking about that mint 79-80 Gretzky rookie card that sold for $3.75 million in 2021.

    I should mention that I am no card collector. I have not purchased a single hockey card since the early ’80s.

    At time of this writing I did just watch a live ebay auction of a 2.5 KSA graded Gretzky rookie card fetch almost $1000.

    I was also super fascinated when I heard in 2024 someone in Saskatchewan found an entire unopened crate in their attic. The crate containing 16 unopened boxes, each box containing 48 unopen packs of the 79-80 O-Pee-Chee cards. Gum included.
    Each one of those packs “potentially” containing an untouched Gretzky rookie card.

    It sold at auction for over $5M CDN however the winning bidder didn’t pay. Probably because they really knew it likely contains linens and knick-knacks instead of mint, unopened packs of hockey cards.

    So, after a minor purchase and me chanting “GRETZKY ROOKIE ! GRETZKY ROOKIE !” I opened the packs like I would that crate.

    Here is what I found…

    (Spoiler: No Gretzky rookie card)

    However within the first 10 cards, boom! The Great One himself.

    1982 O-Pee-Chee Wayne Gretzky In Action hockey card front
    1982 O-Pee-Chee #107 Wayne Gretzky In Action
    1982 O-Pee-Chee #107 Wayne Gretzky In Action Back

    And here is the back. It describes a game against Philly however the front clearly shows an opposing Chicago player.

    A few more cards later and then boom! Another Wayne!

    Now this isn’t winning the lottery or anything and the condition of these cards really sucks, but it does have me believing I made a great purchase all things considered.

    He shoots, he scores!

    As I shuffle through the piles I set aside some of more notable players. Some for their player contributions and others for their post-player career.

    A Ron Francis rookie card anyone?

    Guy LaFleur, Billy Smith, Mike Bossy, Darryl Sittler, Dale Hawerchuk, Ray Bourque. These were the legends in my day. To see them lined up, the ’80s graphic design, is pure awesome, great fun. A++++ would recommend.

    hockey trading cards shot on an angle

    As a Loooong time Canucks fan, the Jim Benning cards will likely be destroyed. [wink]

    I’ve been a lifelong fan of antiques roadshow and in my head I can hear Leila Dunbar enthusiastically spouting the coolest sports details about these players/cards.

    Ultimately what I found was that nostalgia is a hell of a drug.
    So is gambling, treasure hunting, or blind boxes.
    Or just collecting in general.
    Use at your own risk.
  • 5 Frames of Kodacolor 100 with the Nikon FM

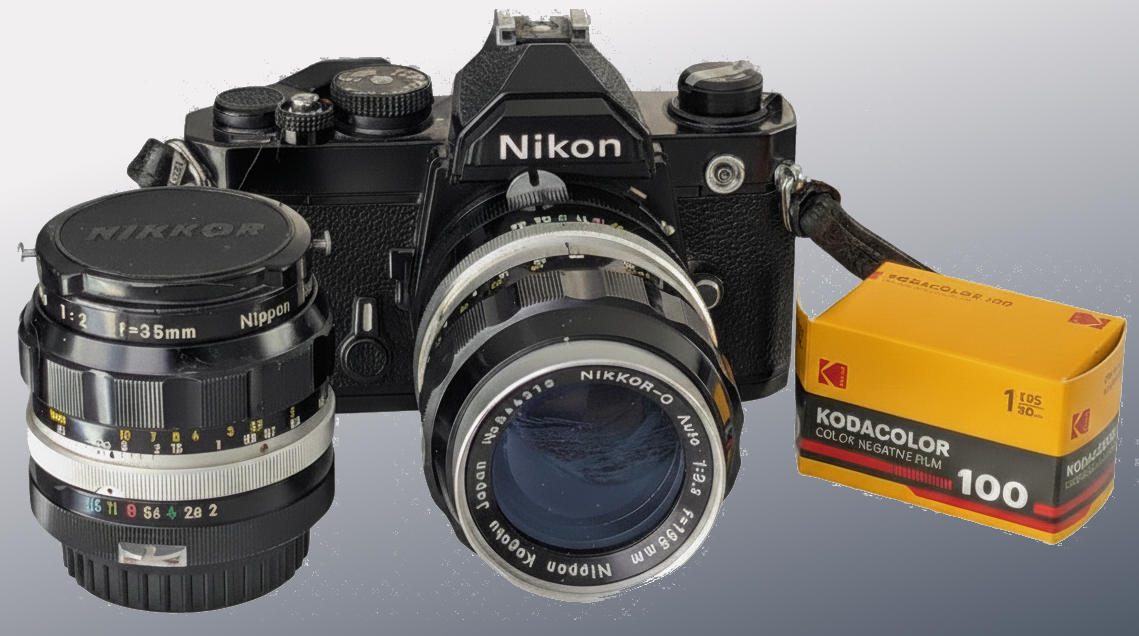
    Nikon FM, Nikkor-O 35mm f1:2, 135mm f1:3.5, Kodak Kodacolor 100 film

    Many years have past since I last shot colour film. Maybe 20 years ago I was using the Lomo Smena 8m camping. Mostly FujiFilm because I liked the greens. Once I started shooting Black & White and developing the film myself, I really didn’t see the need to have someone else develop the film. Digital could usually scratch the itch when colour was required. But when Eastman Kodak started selling “new” film I thought I’d give it a go. If this emulsion is just repackaged ColorPlus I wouldn’t know.

    These images were all shot handheld, usually shutter speed of 1/125 and likely aperture f 11. The body is an original Nikon FM with two Nikkor O lenses, a 135mm f3.5, and 35mm f2.
    They have only been scaled and converted to jpeg with 90% quality.
    Developed and scanned at The LAB Vancouver.

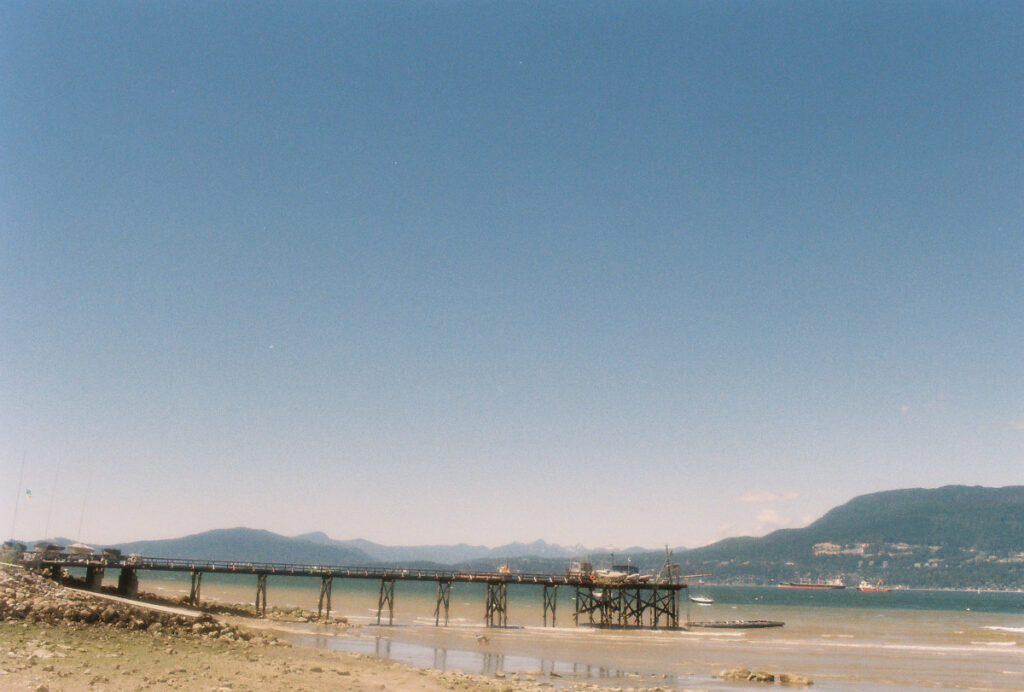
    Colour photo with low horizon wooden pier extending out into English bay

    My recipe for shooting B&W is usually box speed (50-100 asa), maybe yellow or red filter for contrast. After metering and compensating for filters, old film and such, I usually round up, sometimes a whole stop. Many of these images might have fared better with the Sunny-16 rule however I chose f11 to express the summer heat and keep the highlights.

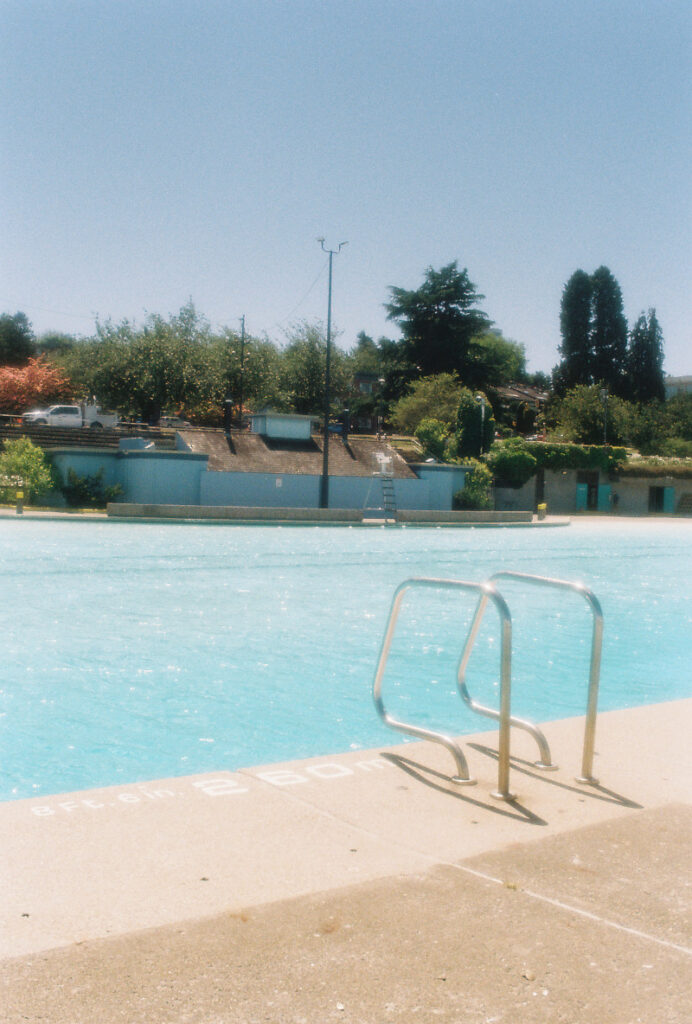
    Blue sky turquoise empty pool

    Channelling my inner David Hockney. Kits pool at midday just days before it reopened this year.

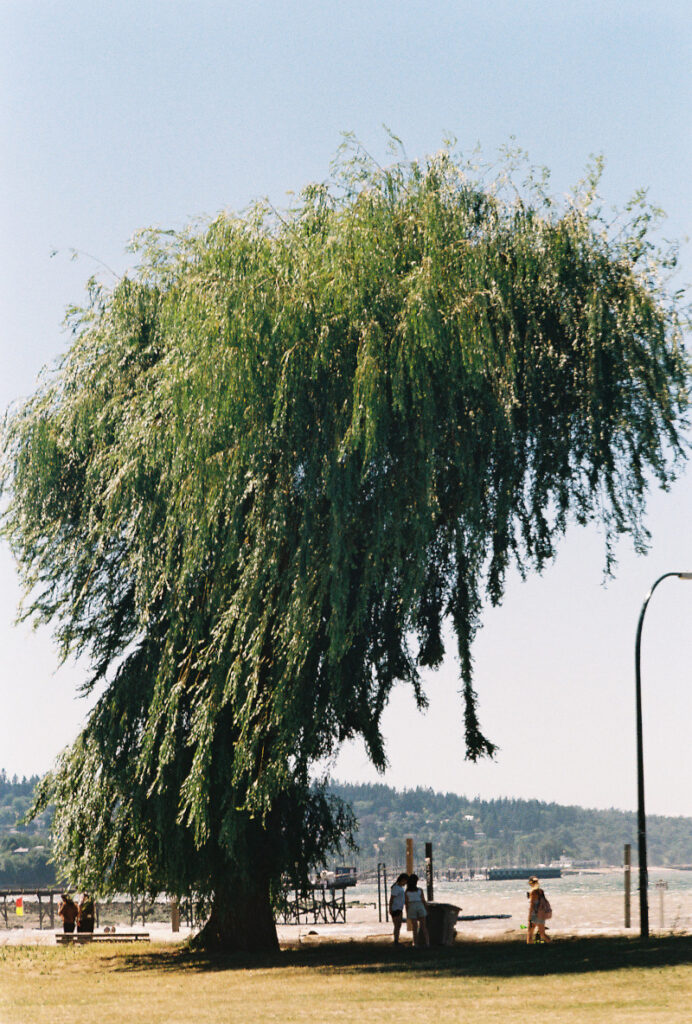
    Large willow tree of silhouette of three figures

    I like this composition with the lamp post and the willow tree that appears to be reaching for the people.
    Taken with the 135mm, it really flattens the layout. A good range of greens in the tree.

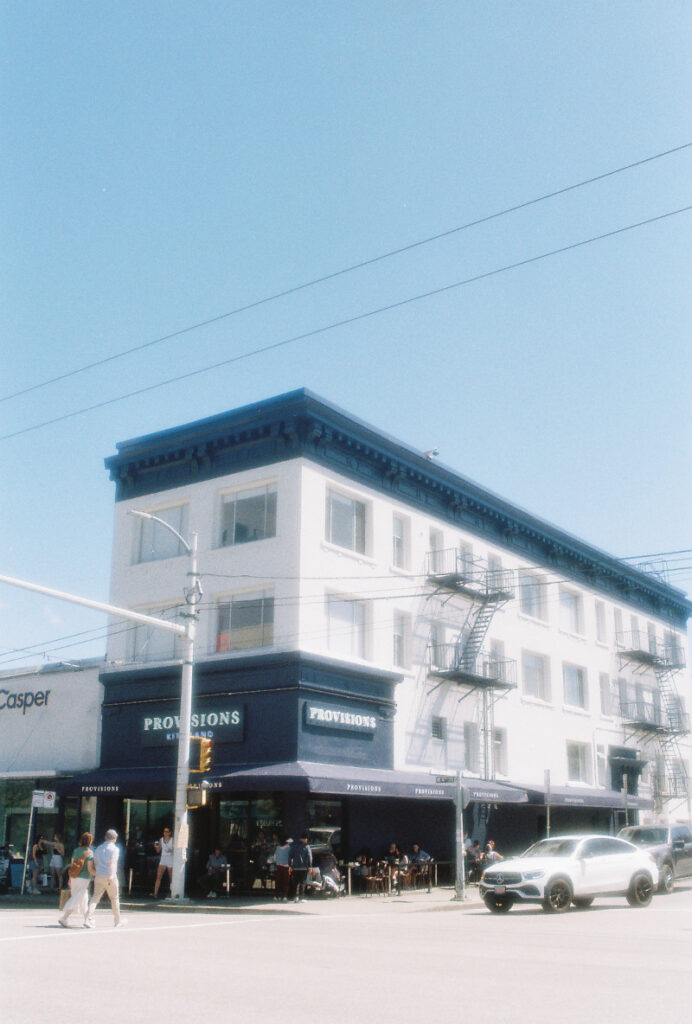
    Blue sky, blue and white building on the corner. White car glowing

    Vanishing point blues and whites. Rounding up when metering sure makes the bloom pop. Much of what I have experienced with this 35mm lens would lead me to describe it as soft. However this is just the bloom.

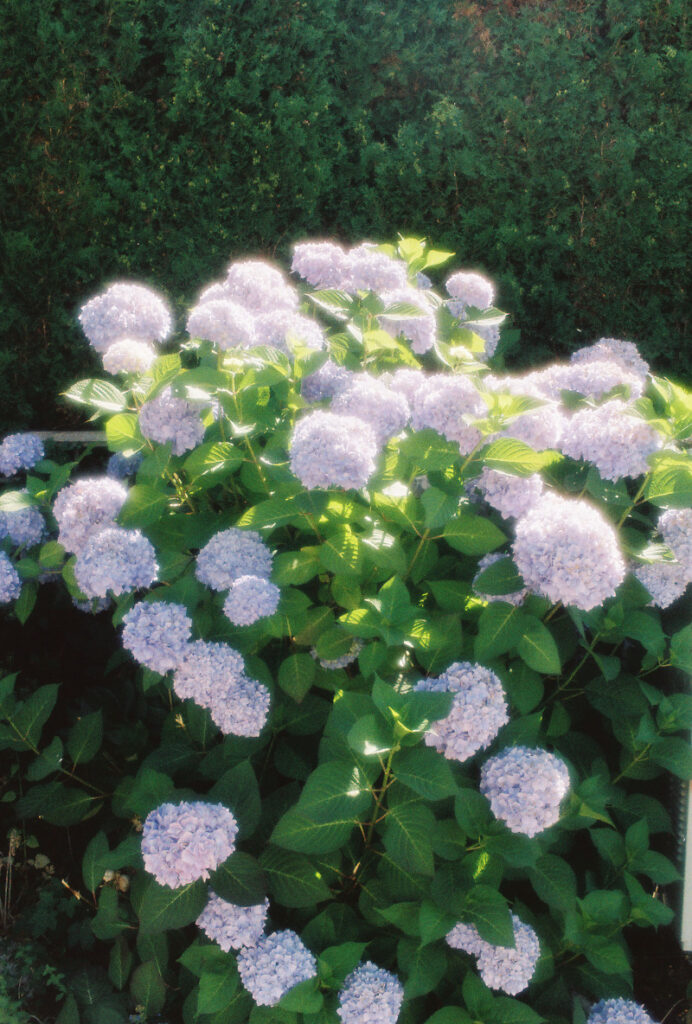
    These hydrangeas also exhibit extreme bloom but are otherwise reasonably sharp foreground and background.

    Hyrangeas glowing in front of a green hedge

    What might have once seemed as a fault in this lens, I now embrace as a desired look.

    And one more as a bonus…
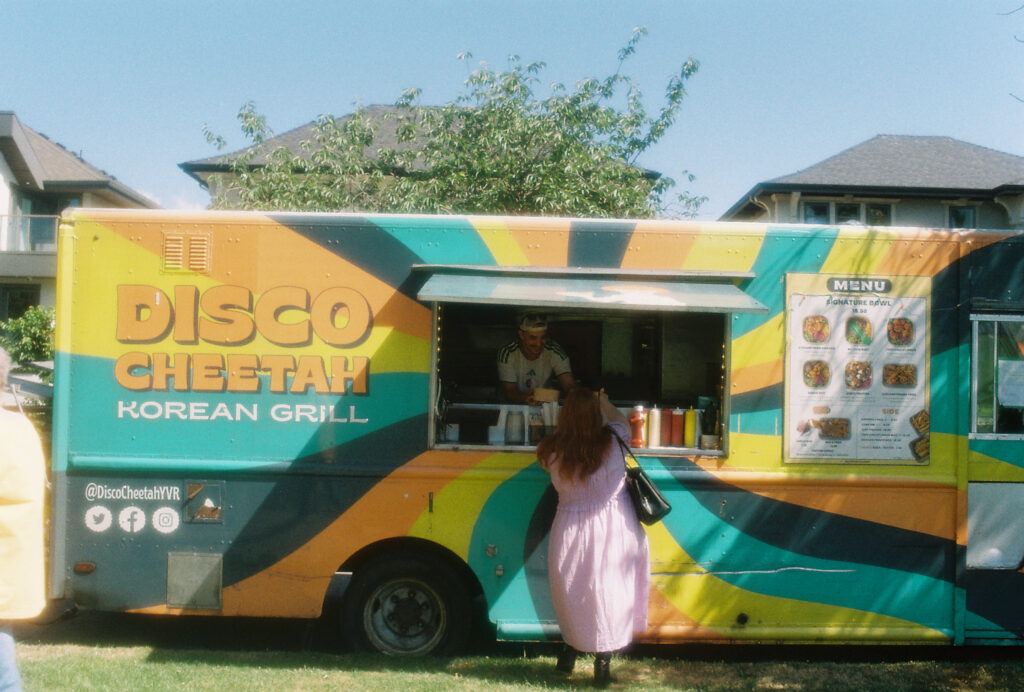
    Getting as many colours as I can in one frame.

    Disco Cheetah Food truck.

    The verdict is that colour film is really fun. Kodacolor 100 seemed to produce the colours I was looking for and expecting.
    Looking for punches of color is different thinking than looking for B&W tones and shape. I enjoyed the difference and I learned a few things for the next roll, however I’m not expecting to be going through too many rolls. The price is prohibitive which makes me slow down and think even more.

  • Film in the Fridge

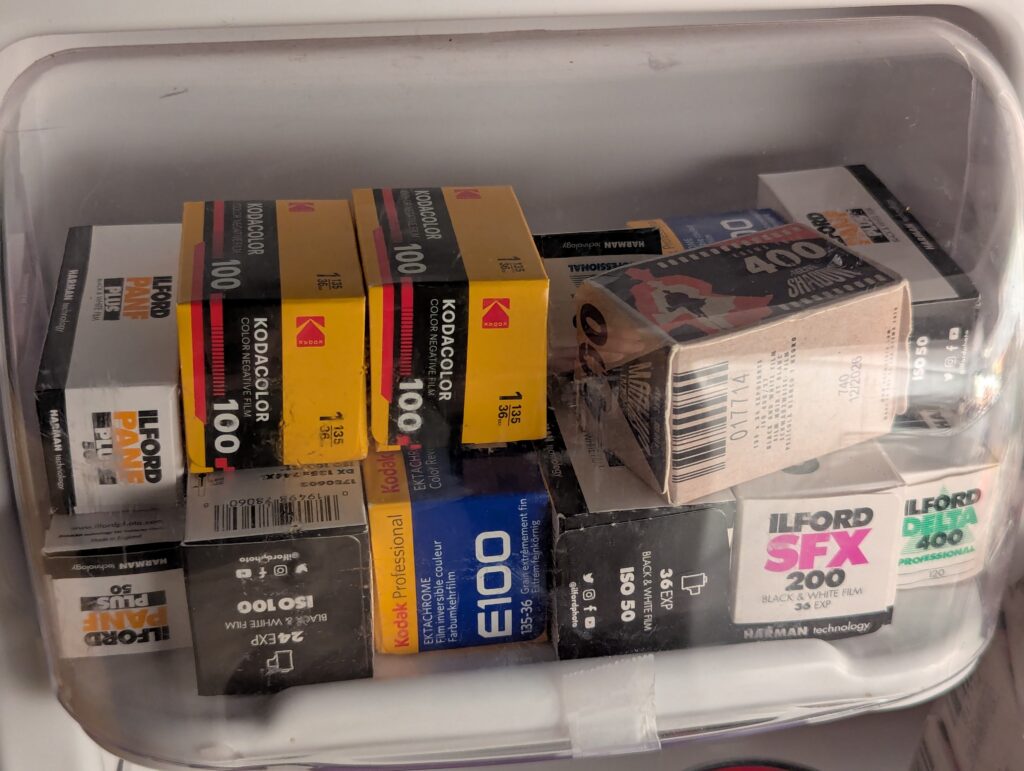
    Film rolls stored in the the butter dish of the fridge

    I’ve got a bunch of old film I need to get through. Stored properly – I shouldn’t need to add too many additional stops.
    I think this may be the golden age. Enjoy while you can.

  • It’s not just Radio, it’s Meshtastic!

    My latest interest in microcontrollers has me learning all about Meshtastic mesh radio devices.
    The Meshtastic website puts it concisely – “An open source, off-grid, decentralized, mesh network built to run on affordable, low-power devices”.
    A lot to unpack right there but definitely within my Venn diagram of interests. As I dig in to this niche community of RF enthusists I realize there is almost limtless applications, reason for use, and areas to expand or learn about.

    Essentially these are text-based walkie-talkies operating on an open band of radio frequency that go much farther than WiFi.
    They bounce or “hop” off other similar nearby devices on the same channel, each called a “Node” to travel great distances in some cases.
    If you have two nodes, and they are close enough to communicate, you can send text messages or other string data between them.

    Configured correctly that message can be encrypted or you can choose to chat on the public default channel. The Citizens Band Radio – “Breaker Breaker 1-9”.

    Some nodes have screens, GPS or other sensors but much of Meshtastic can be used or configured through a phone app UI.

    I have used LoRa, or Long-Range radios on microcontrollers in the past but that involved sending and parsing raw packets with the RFM95 series of radios. I enjoyed seeing just how far I could transmit and recieve data. (Not that far)

    Meshtastic is messy but moving quickly. Old documentation or tutorials online might not reflect the latest UI or experience. These radios are not inherently reliable and there are many variations.
    Your experience will be directly related to your device’s functions, app version, the number of Meshtastic nodes in your area, distance, and line of sight to another node.

    I started in the mountains with no other users. But I had two radios so I could ping each other and get an good understanding of how it all works. Occasionally another node will show up on weekends when tourists are traveling into town.

    When I travelled into Vancouver, driving with default notifications on Android, I learned that “New Node Seen” notifications were a bad idea.

    Not enough nodes or too many nodes, each has it’s own issue. Dense populations such as Vancouver have switched modem settings from the default to get better experiences.

    On top of the radio hardware and phone app there is also an optional connection to the internet using MQTT. Maps, dashboards, and every other conceivable web based project has used MQTT to connect the data from the radio network such as location, radio type etc.

    Antenna design, 3D printed enclosures, solar and battery setup, different sensors or microcontrollers… You can see that there is plenty for gear-heads, hams, EE’s, and software developers.
    The Meshtastic Discord is super-busy with lots of info flying. Good to lurk and look back to see related issues and discussions.

    Recent changes mean less data or telemetry being pushed out from each radio by default so you might not see any others right away. Given some time you will eventually see other nodes if they are in range.

    With the use of SDR, or Software Defined Radio, you can also view this radio communication in real time. In North American this is in the open 915MHz frequency.

    Each country has it’s own rules so be sure to check local regulations.
    If interested, make sure to buy two devices to start.
    10-4 good buddy – OVER

  • Old man shakes fist at cloud animation

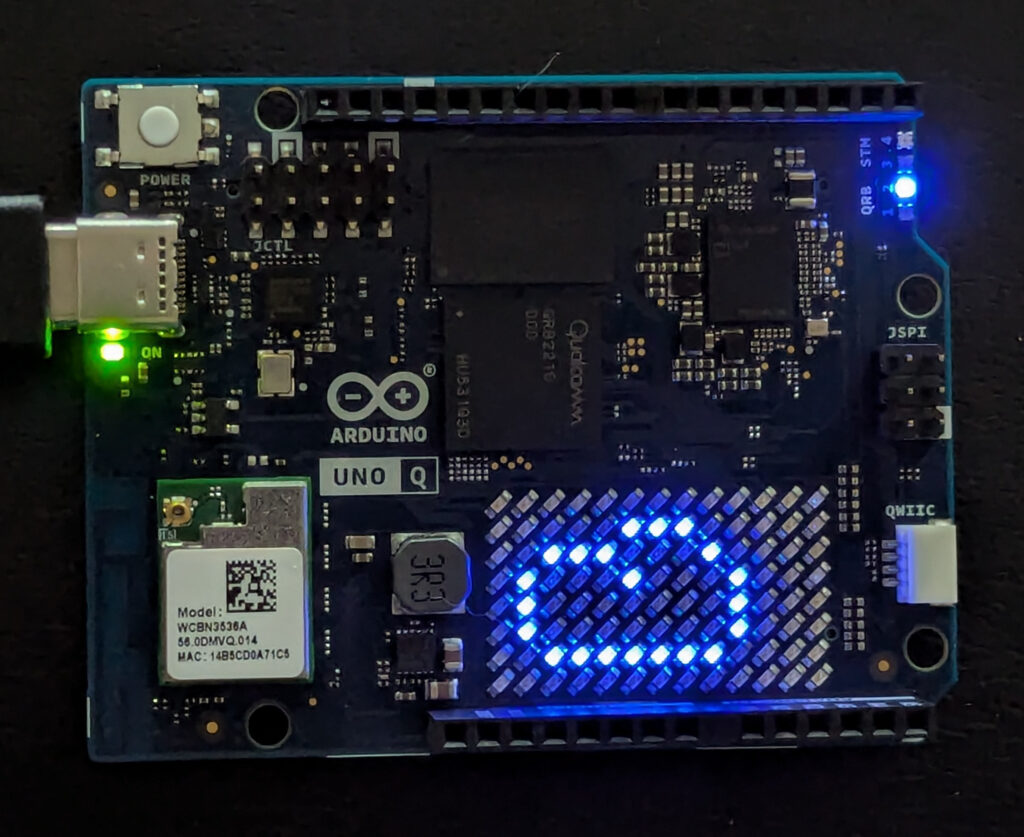
    My Arduino UNO Q arrived today and I eagerly unboxed and admired the board layout. The north-south resister “cities” contrasting with the led matrix 45 degree slant. New chips but all of the pin layout of classic Arduino boards. Lots of business going on underneath which is also new.

    Now if you haven’t aready, please read my previous post.

    Sucks that the first thing you need to do is read another article.

    Well..

    The first thing Arduino App Lab asked me to do was flash the board after installing a CLI (Command Line Interface) tool. This is not just the update software upon arrival we’ve all come to experience. That would also come later. This requires female to female jumper cables to short two pins. Not exactly beginner friendly.

    I understand these are early days and there will be some bumps to get user friendly software and hardware.

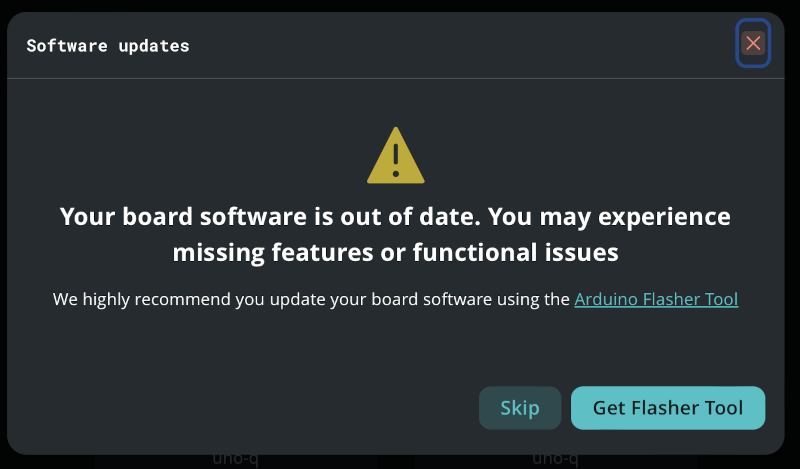
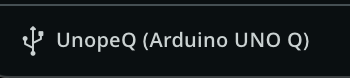
    Unfortunately I choose “Get Flasher Tool” instead of “Skip” which I abandoned, then got stuck in a set-up loop. After restarting App Lab App, I now had a choice between two boards? Because I was stuck after setting up the Wifi, it showed two UNO Q boards. “USB” and “Network” being the only difference.

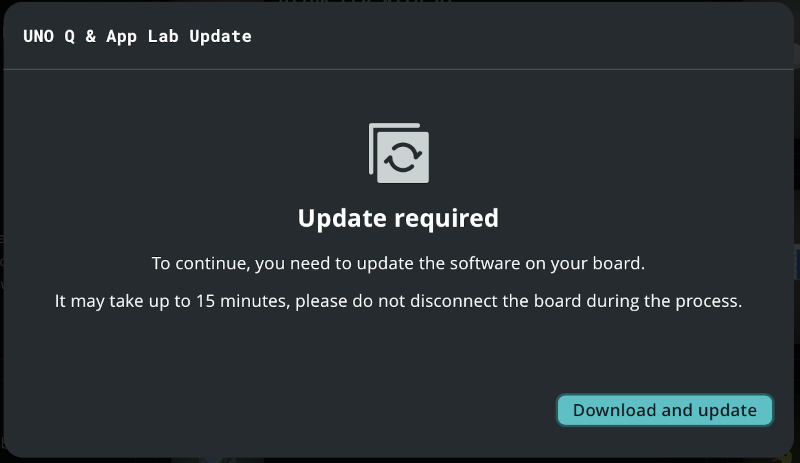
    Now the update… 15 minutes wha?

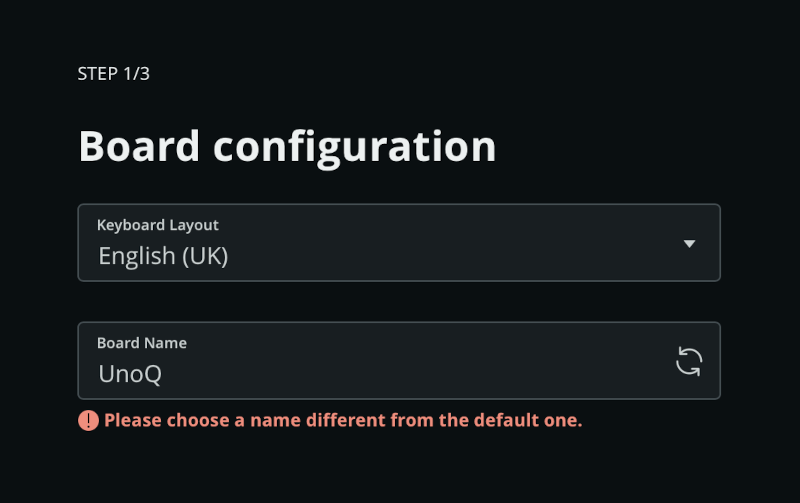
    Board name however cannot be the default…

    errr U”NOpe”Q.

    Way too much friction during onboarding for my liking.

    I did manage to get in and duplicate the Weather demo, update the location string found on the Arduino side of things, and get it running.

    Some interesting stuff with this unique Python/Arduino setup is that it uses a newer version of Python than I currently have installed when it creates a virtual environment.

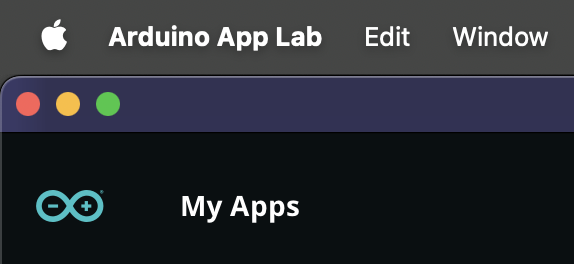
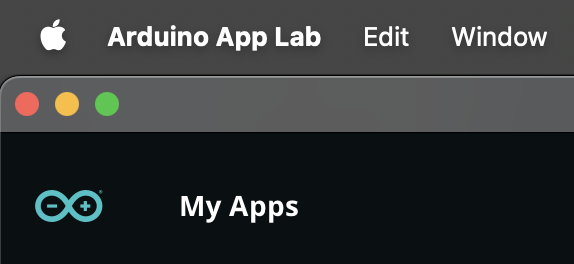
    The most annoying thing right now is the Arduino App Lab 0.1.28 for Mac window blink. It randomly looks like the window is gaining and losing focus. Purple – Grey, Grey – Purple etc. Some mouse hover seems to trigger it briefly but not reproducible.

    I tried to take a look at App Lab source seeing as it is open source to see if I could contribute in any way but found a bunch of TypeScript and SCSS.
    Fine for someone who hates the web and builds “Apps” not “Web Pages” but not my monkeys, not my circus.

    I’m a bit more familiar with UI now but I think the Learn > First Setup would be a good onboarding option during the users first UNO-Q connection.

    My real vision for this board will be to combine the use of low power microcontroller to trigger more powerful Linux abilities.
    “is there a face? > Run Facial recognition” etc.
    Sensors running on microcontroller can be tied directly to webserver. Lots of ideas with this dual combination, each with their own strengths.

    Next steps will test some I2C sensors.